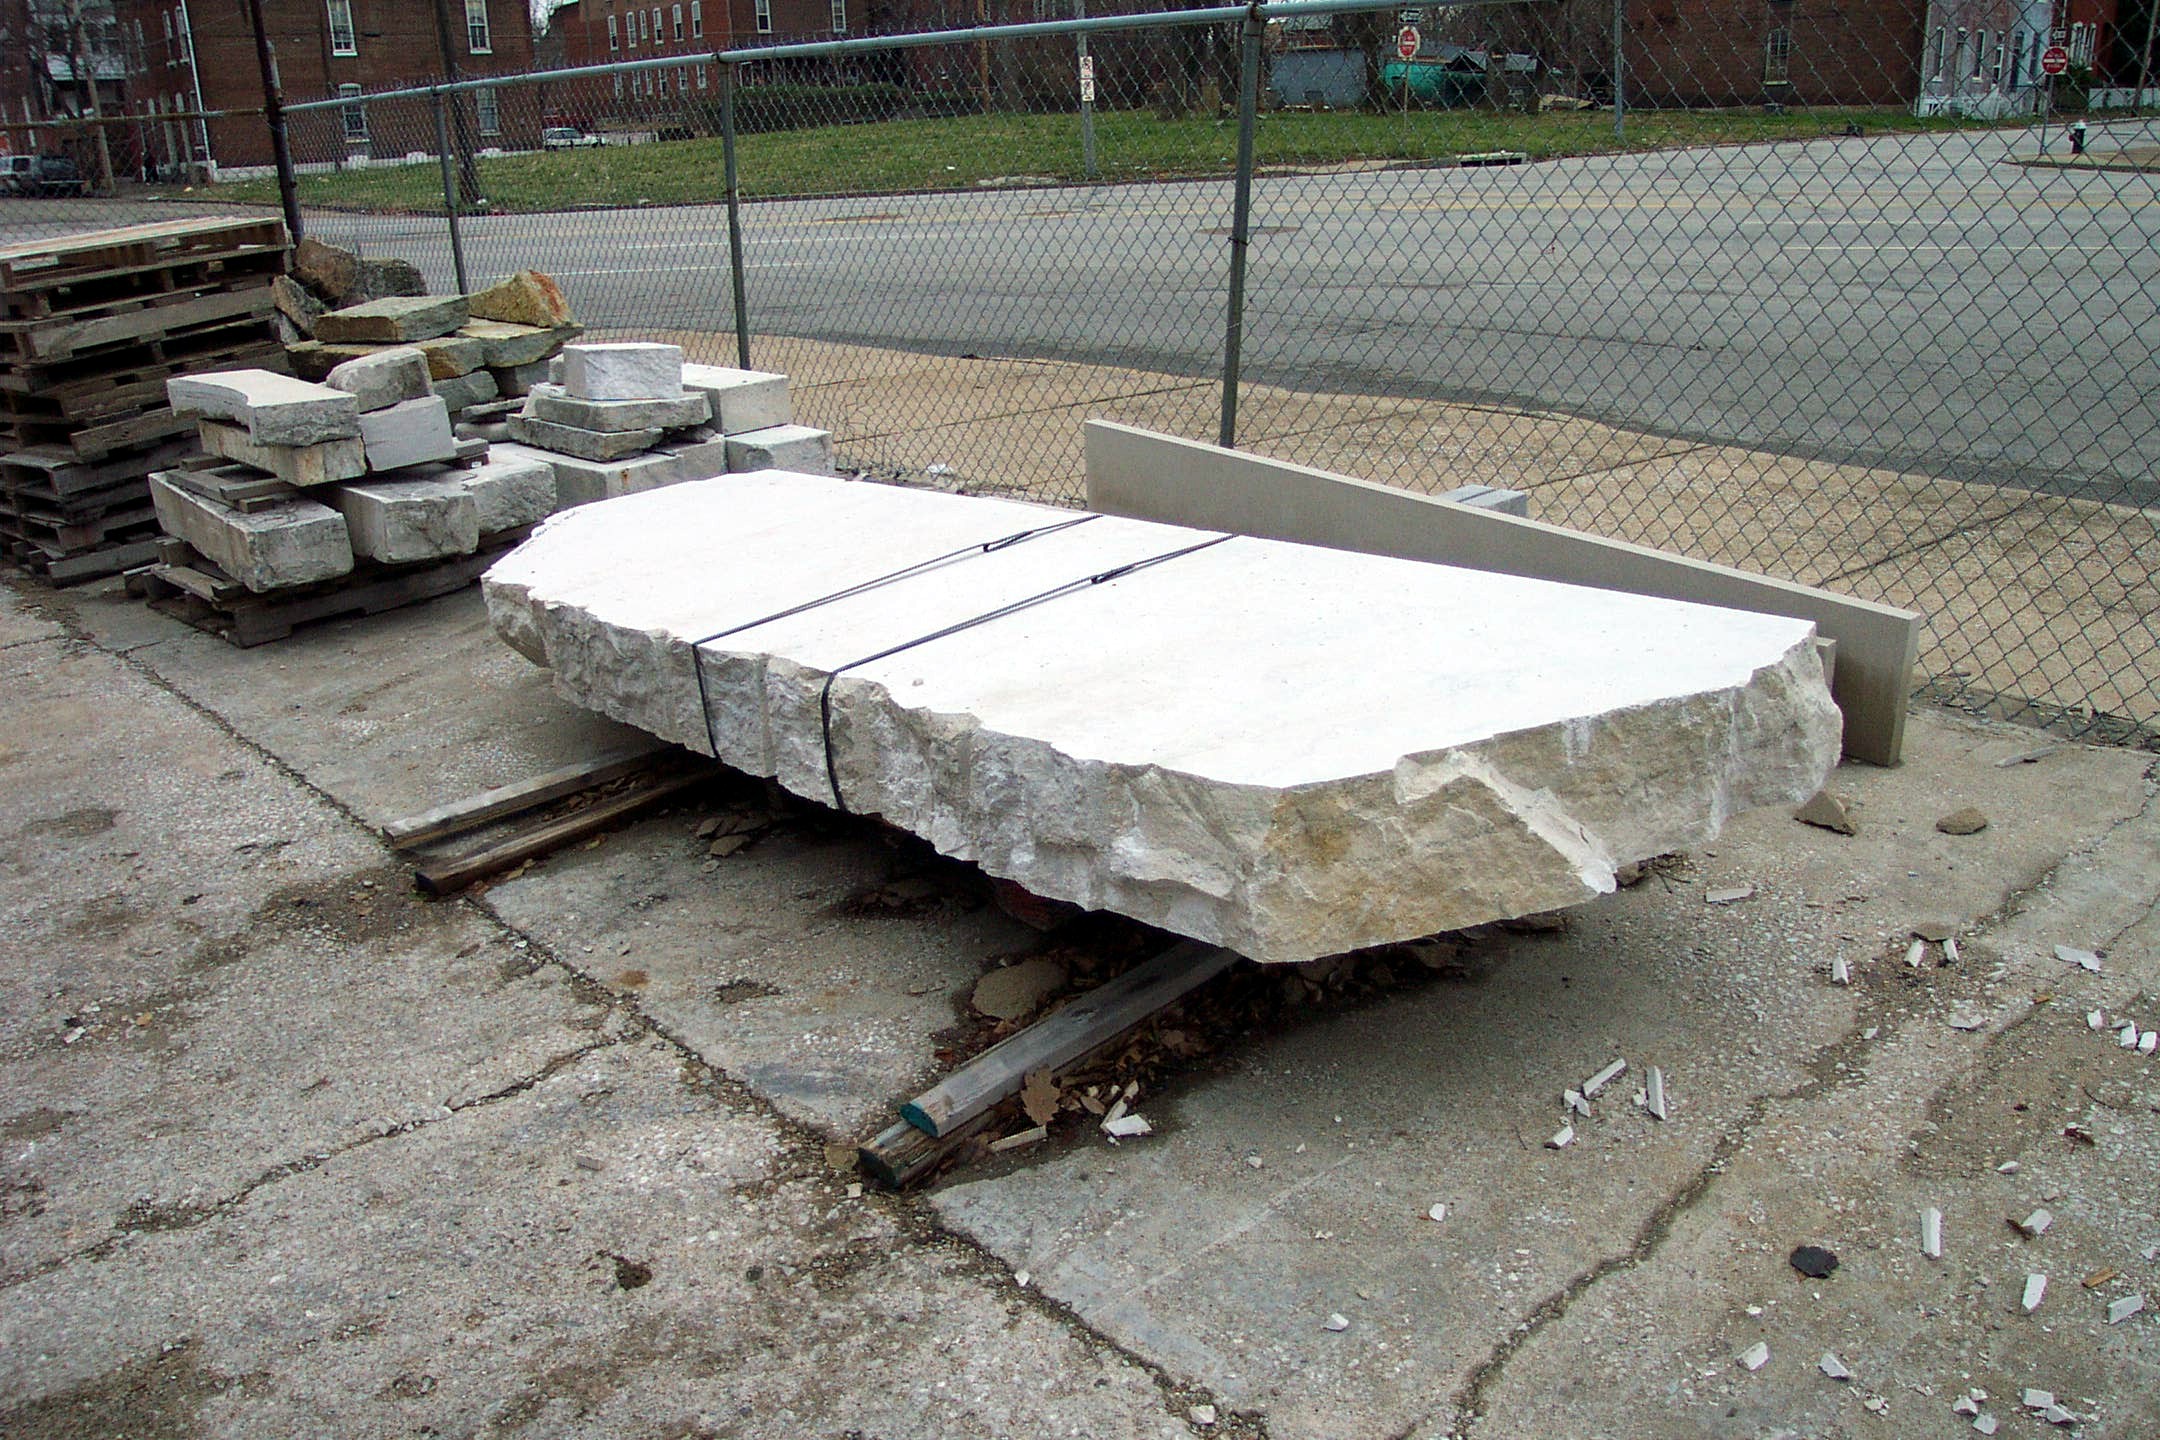
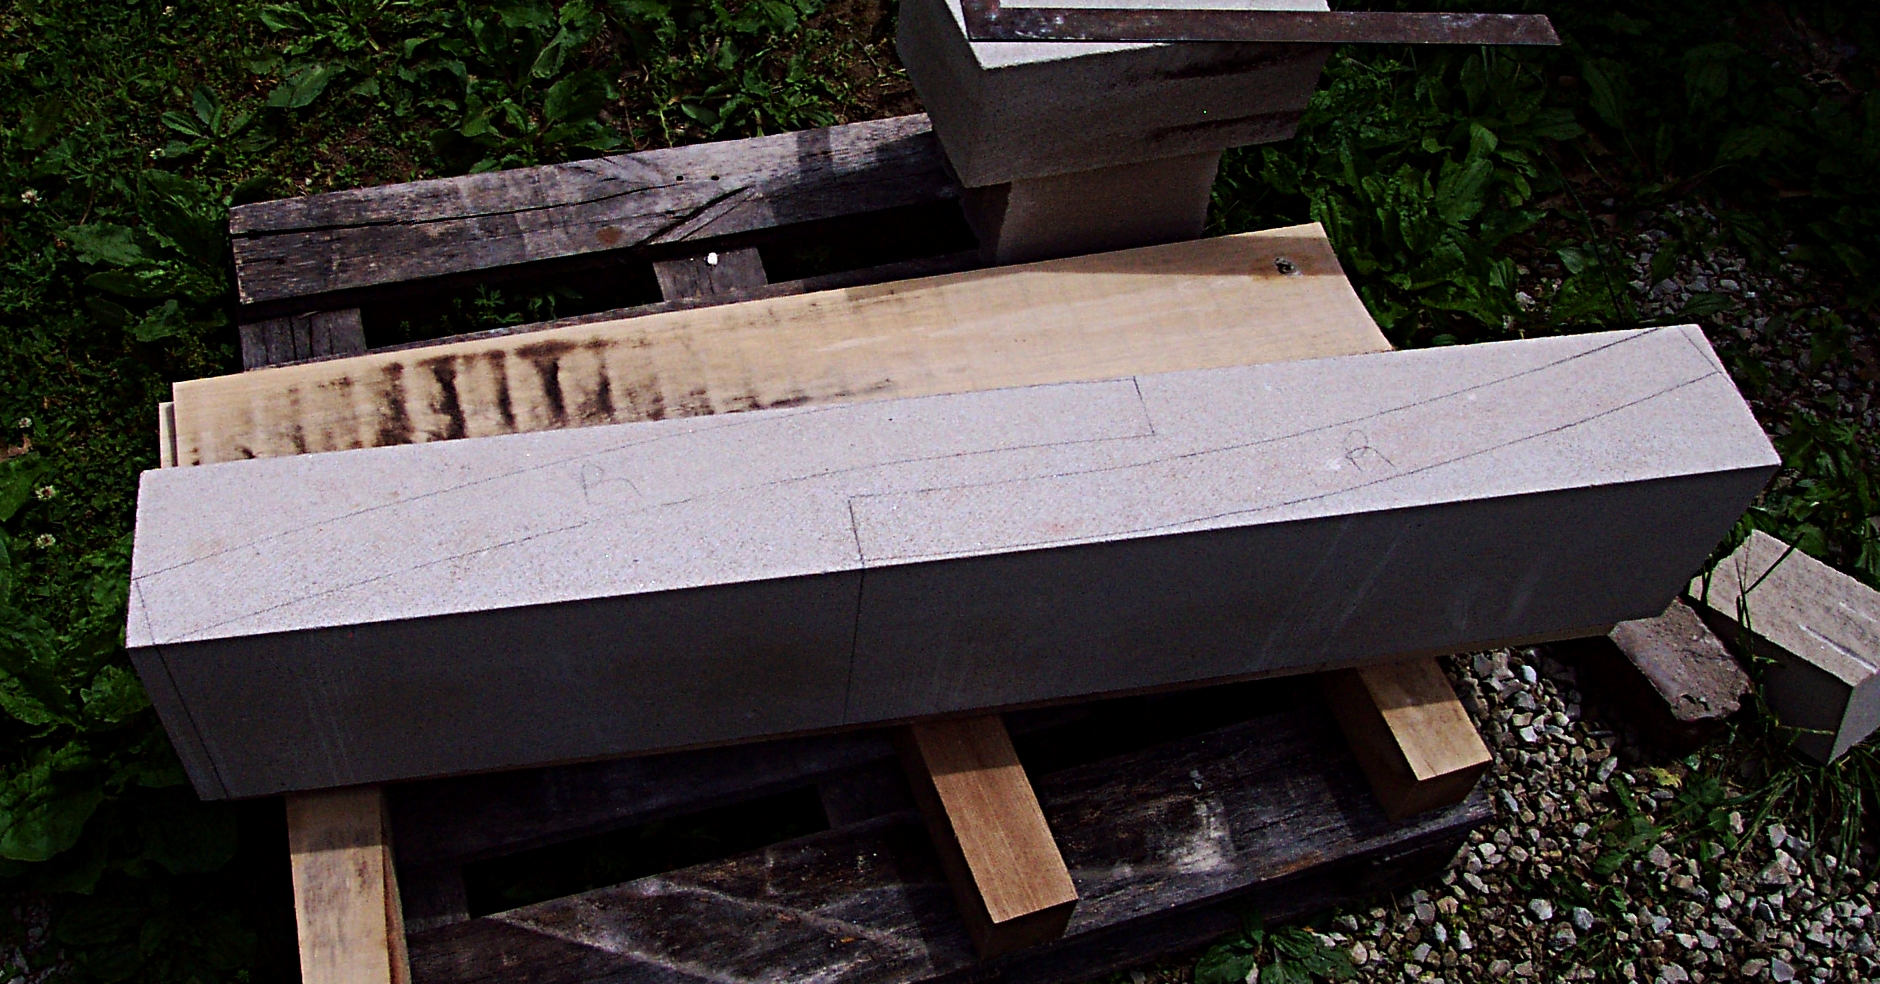
At the beginning, a slab of stone is set on edge and the outline of the desired shape of the coping stone is drawn on each edge. This stone will be made into two curved pieces of coping.
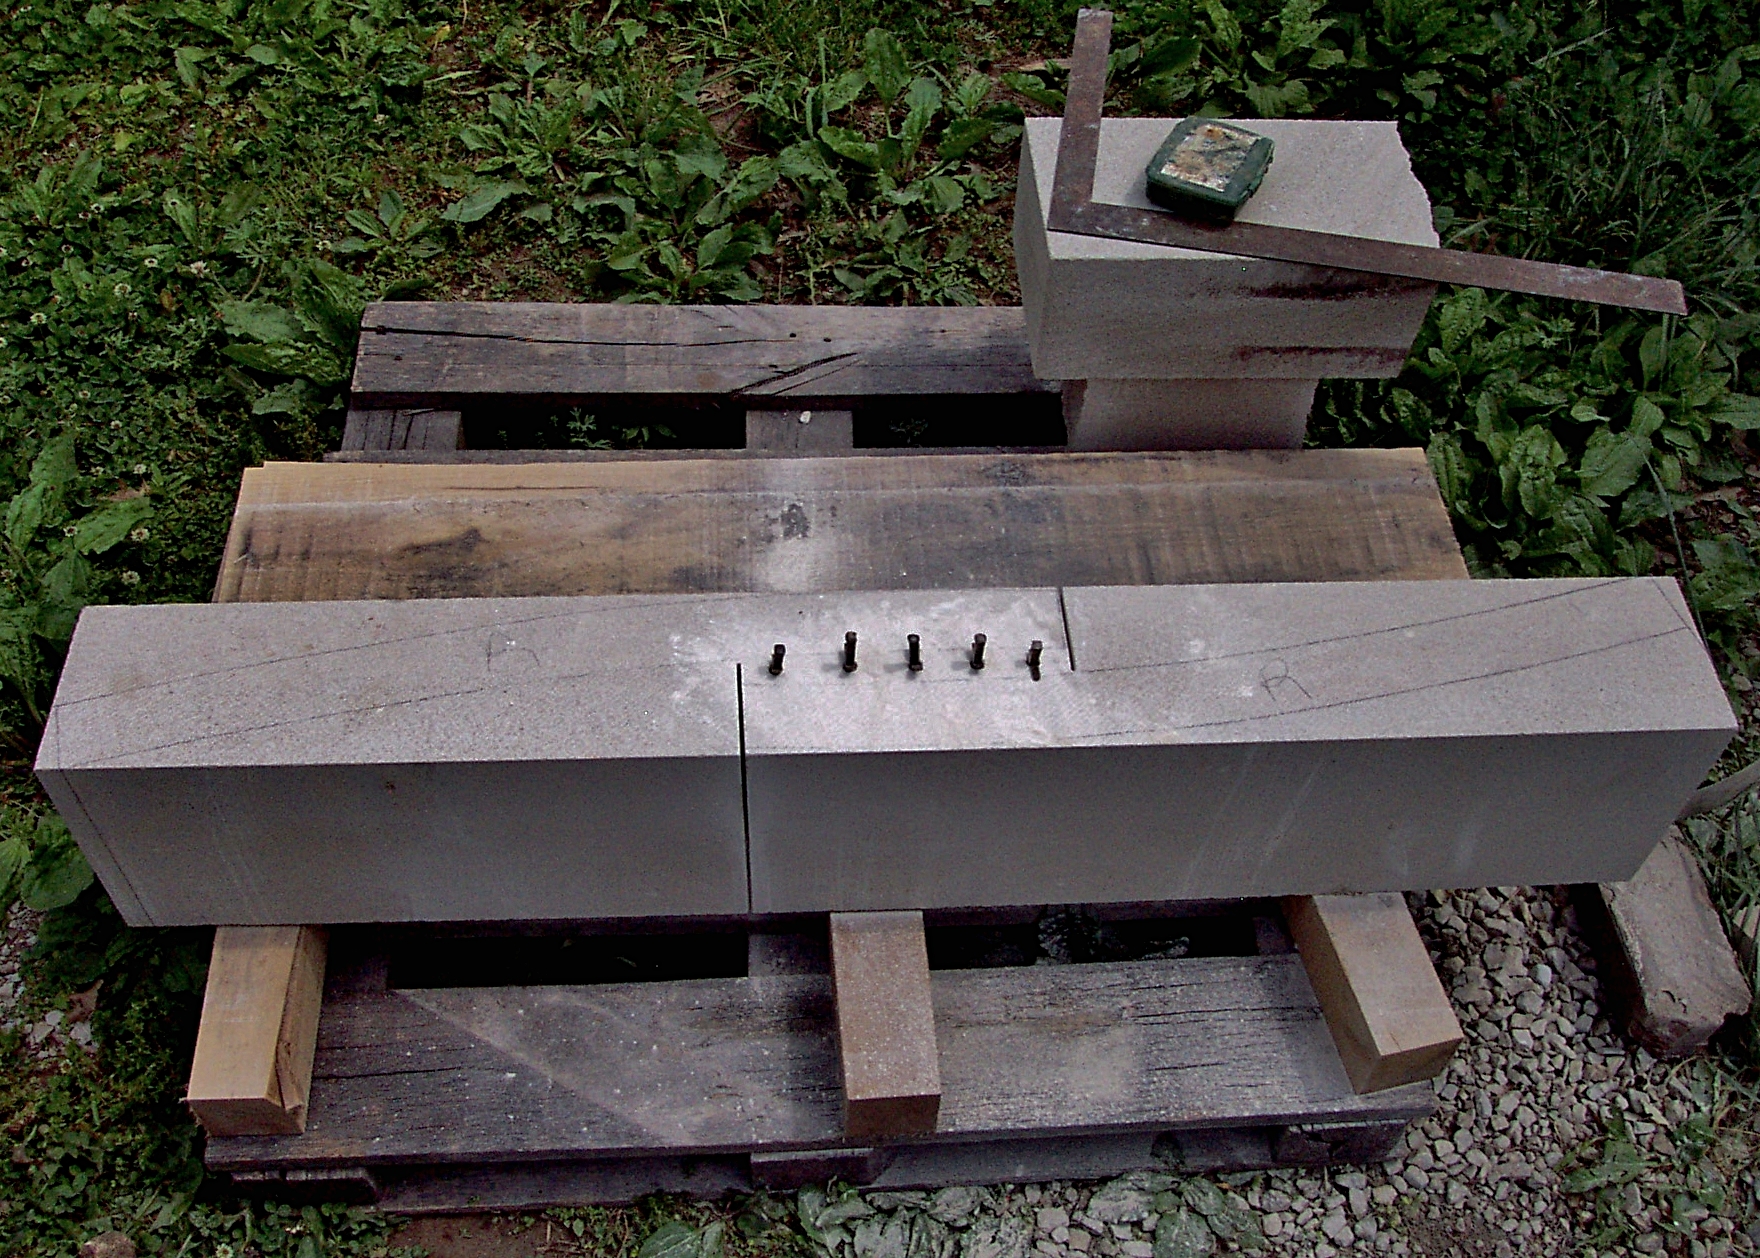
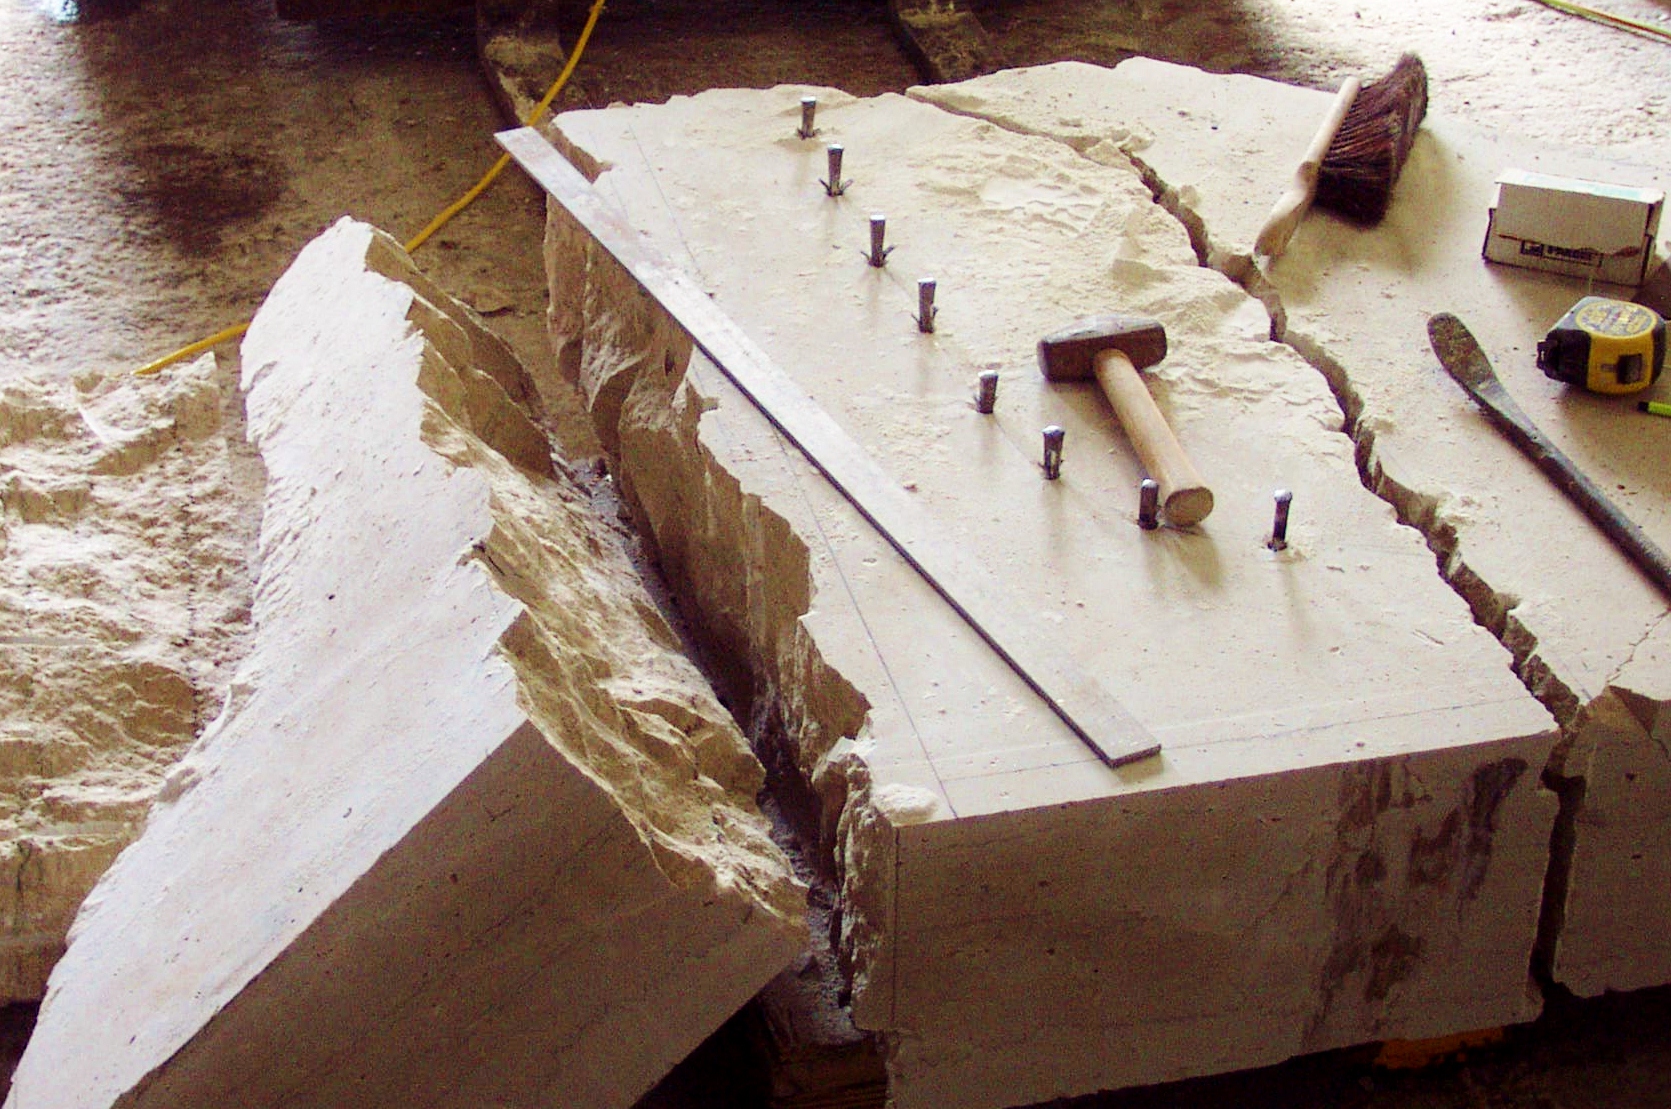
Next - A saw cut was made at the end of each of the two copings. Holes were drilled and shims and wedges were incerted into the holes. Next, the wedges were carefully tapped into the shims and the stone...
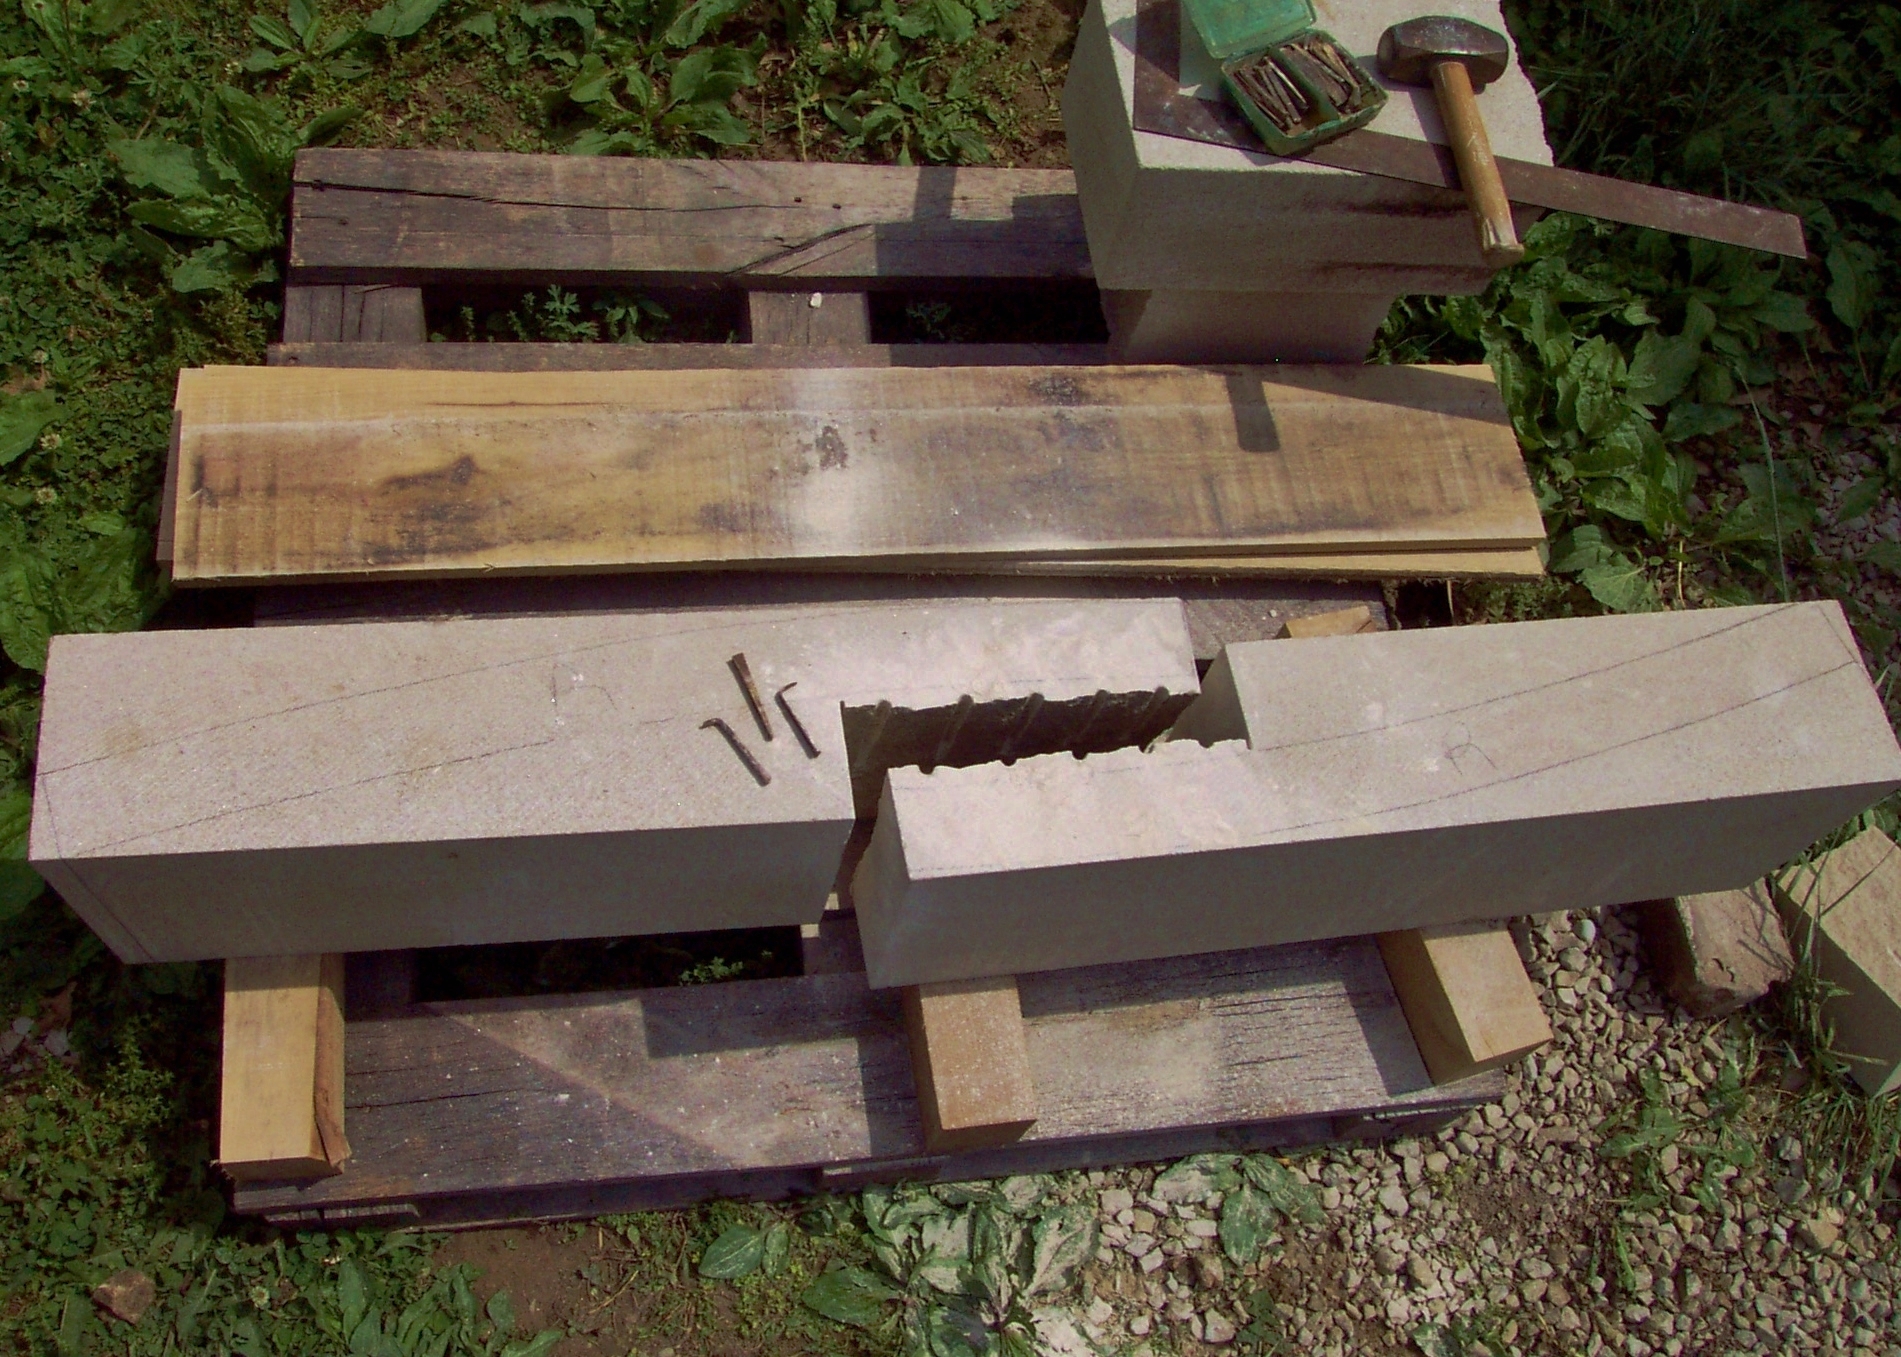
The stone ...
... was split into! This was a risk but it worked!
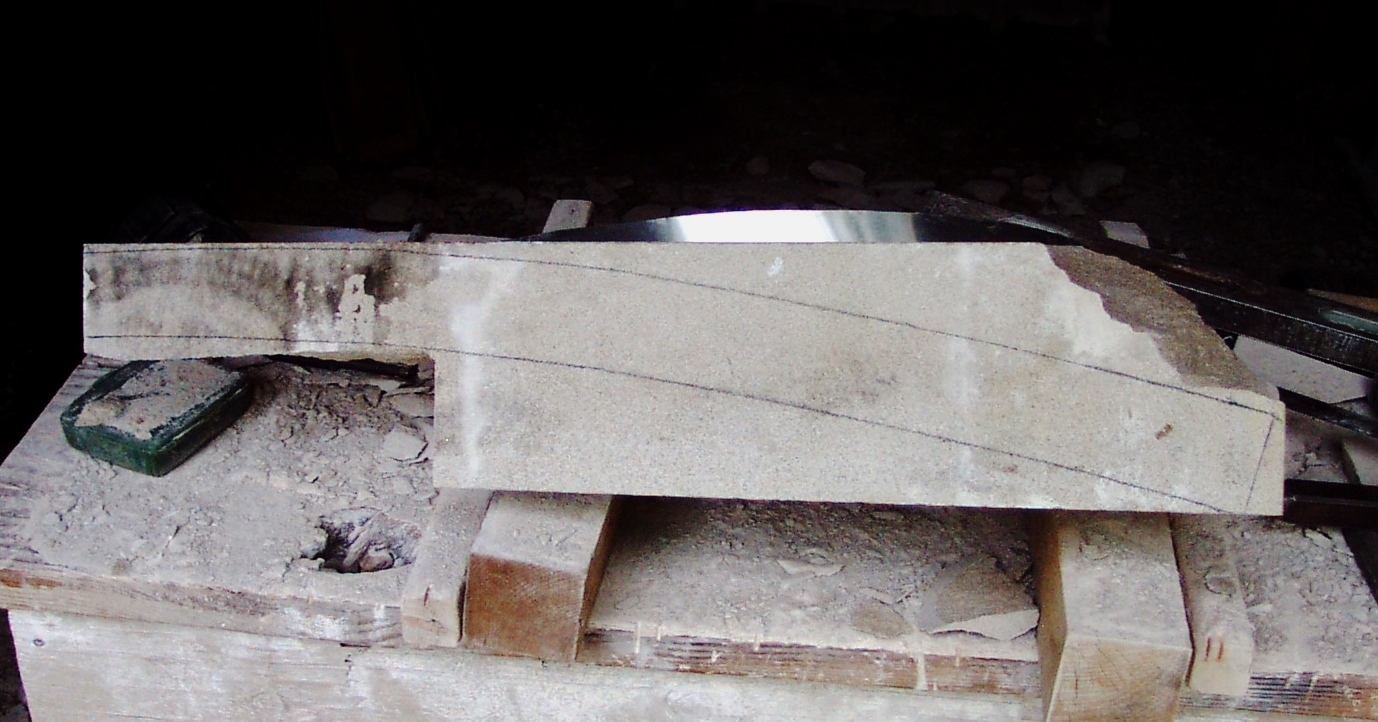
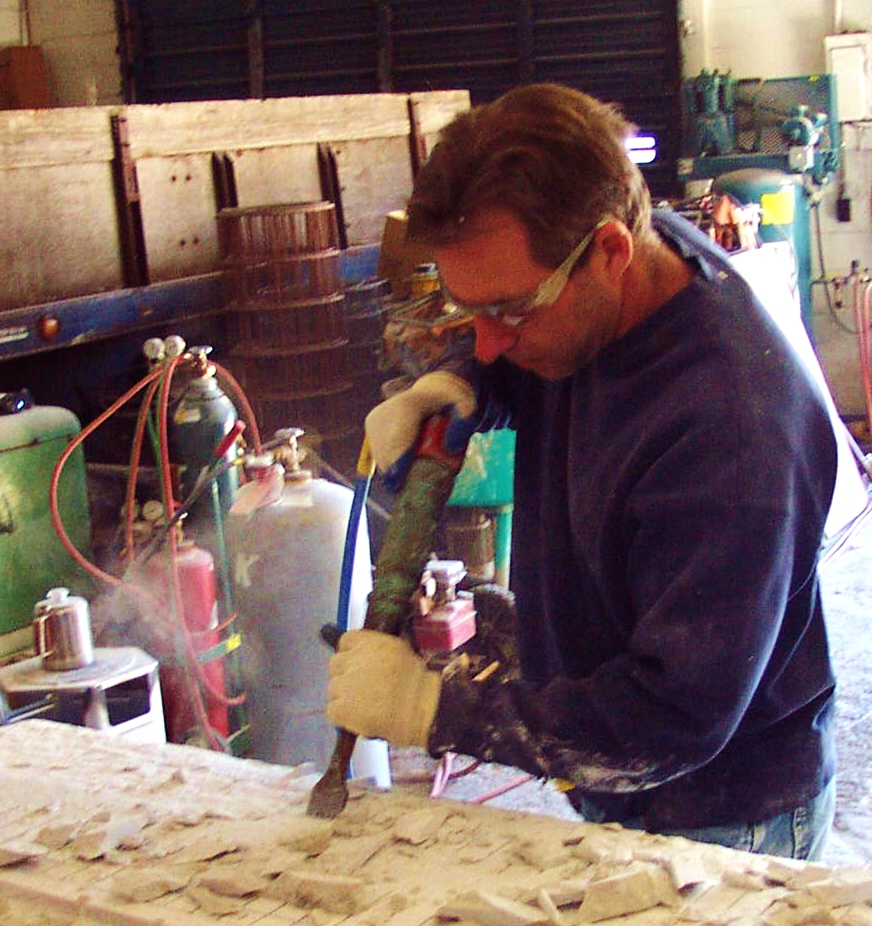
The stone was then set on the banker (stone masons bench). A hammer and chisel were used to begin removing the excess stone.
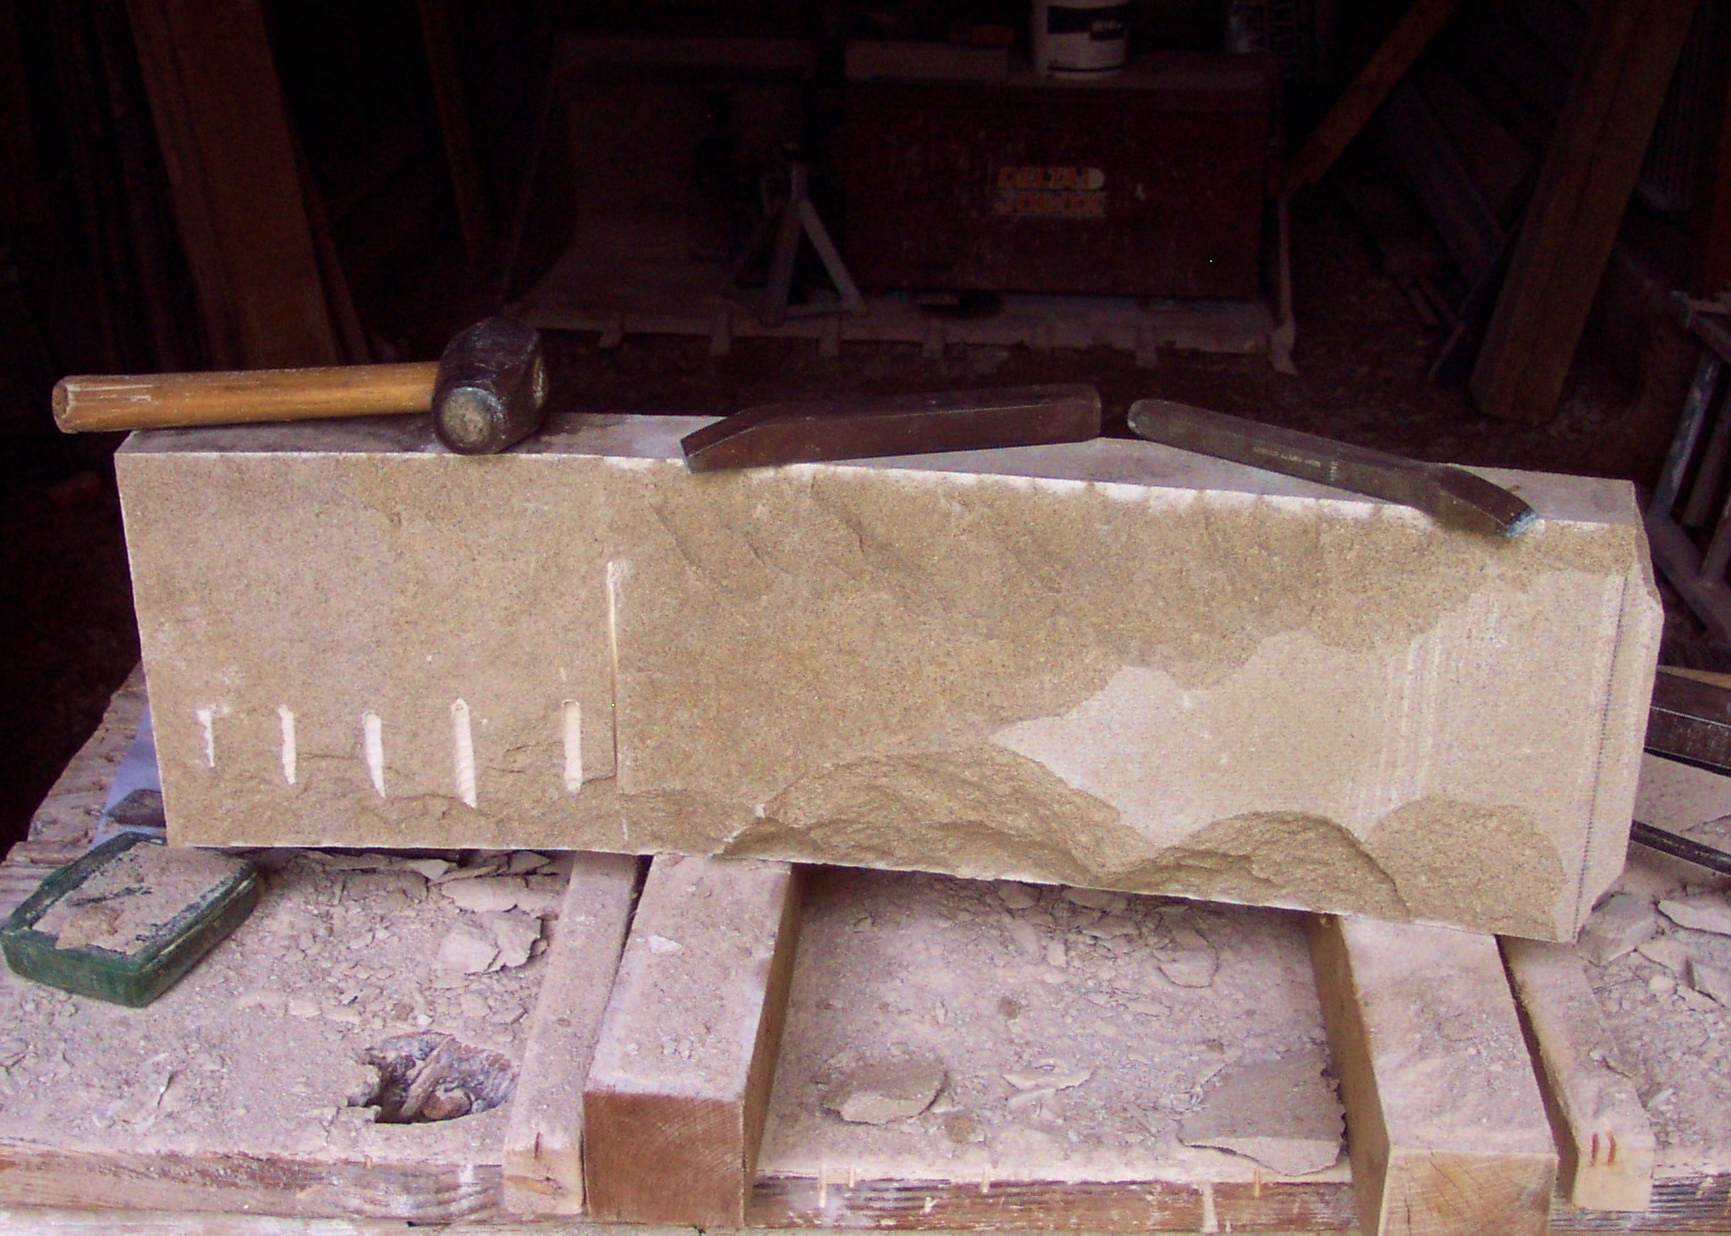
More of the excess was chiseled away.
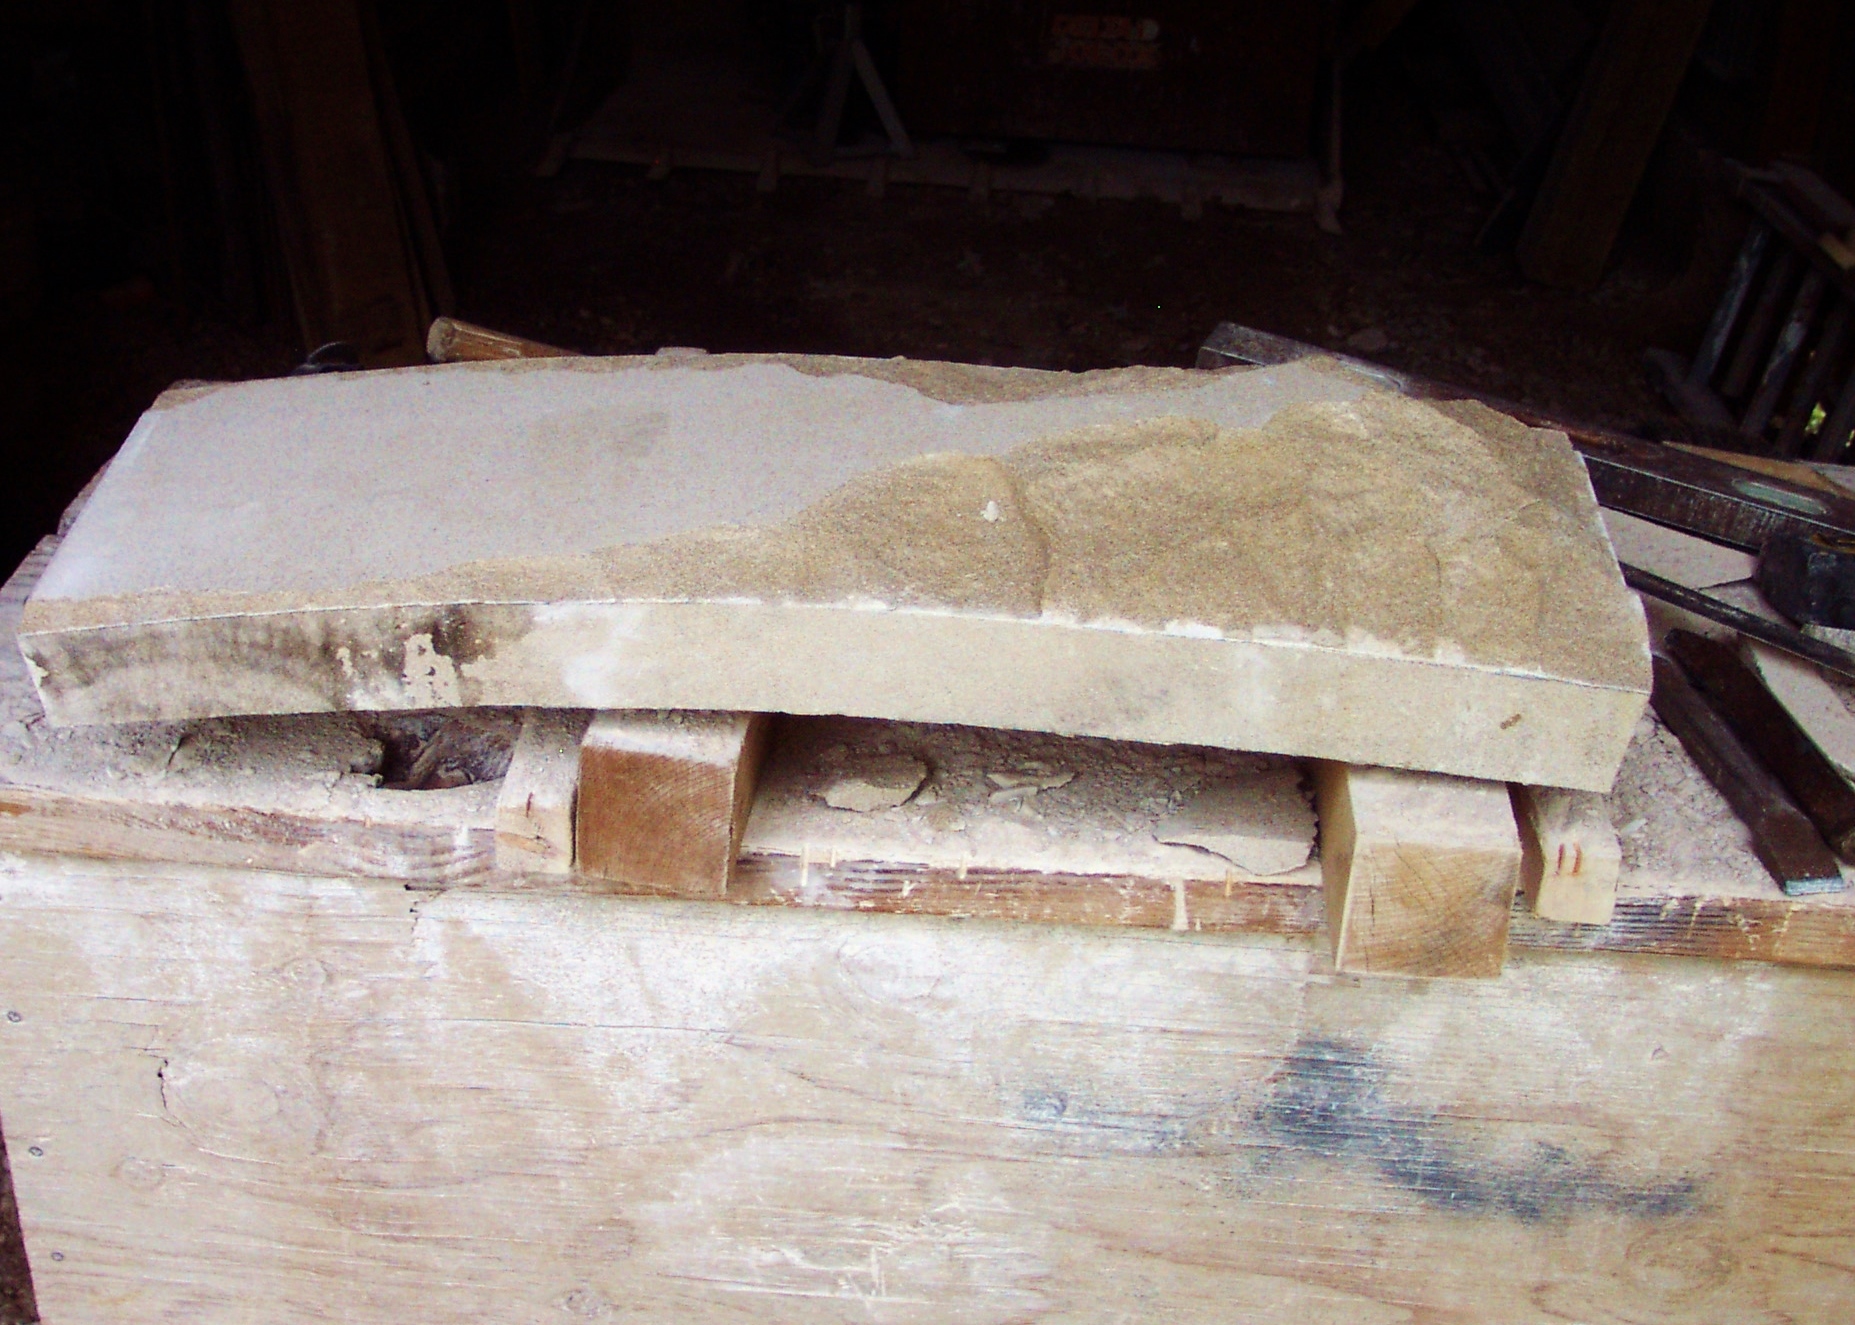
More of the excess was carved away but more carefully now.
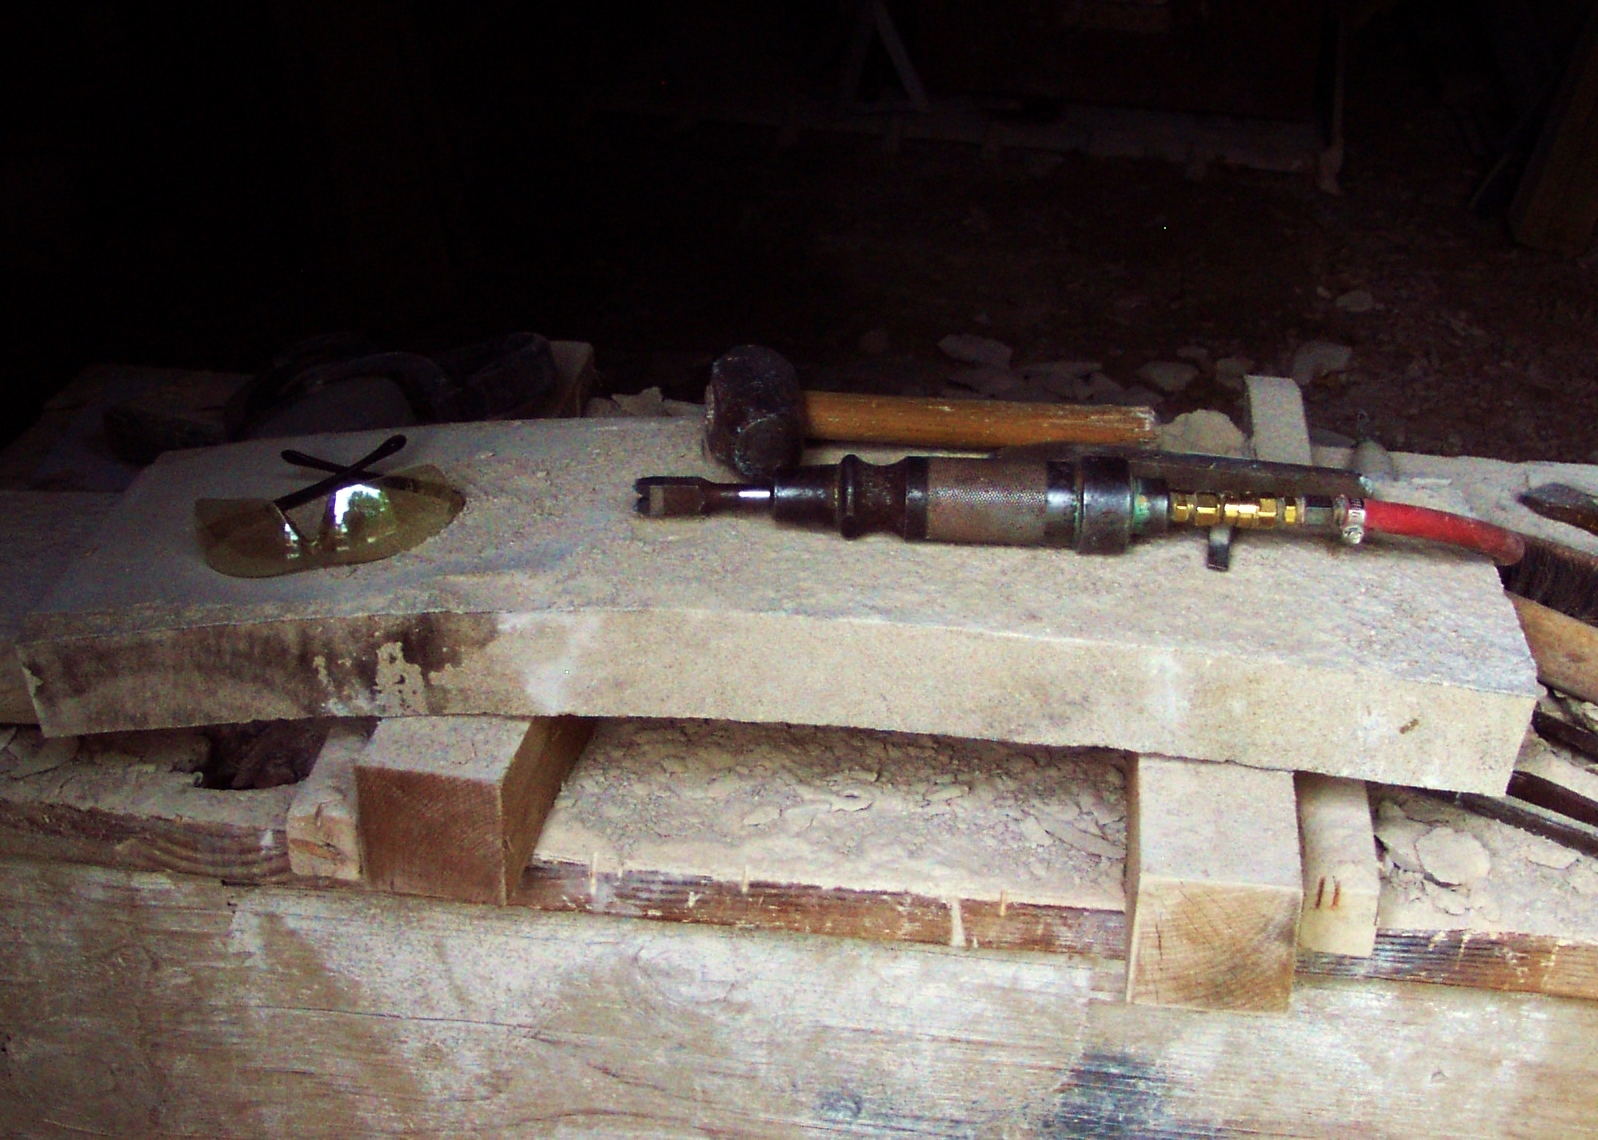
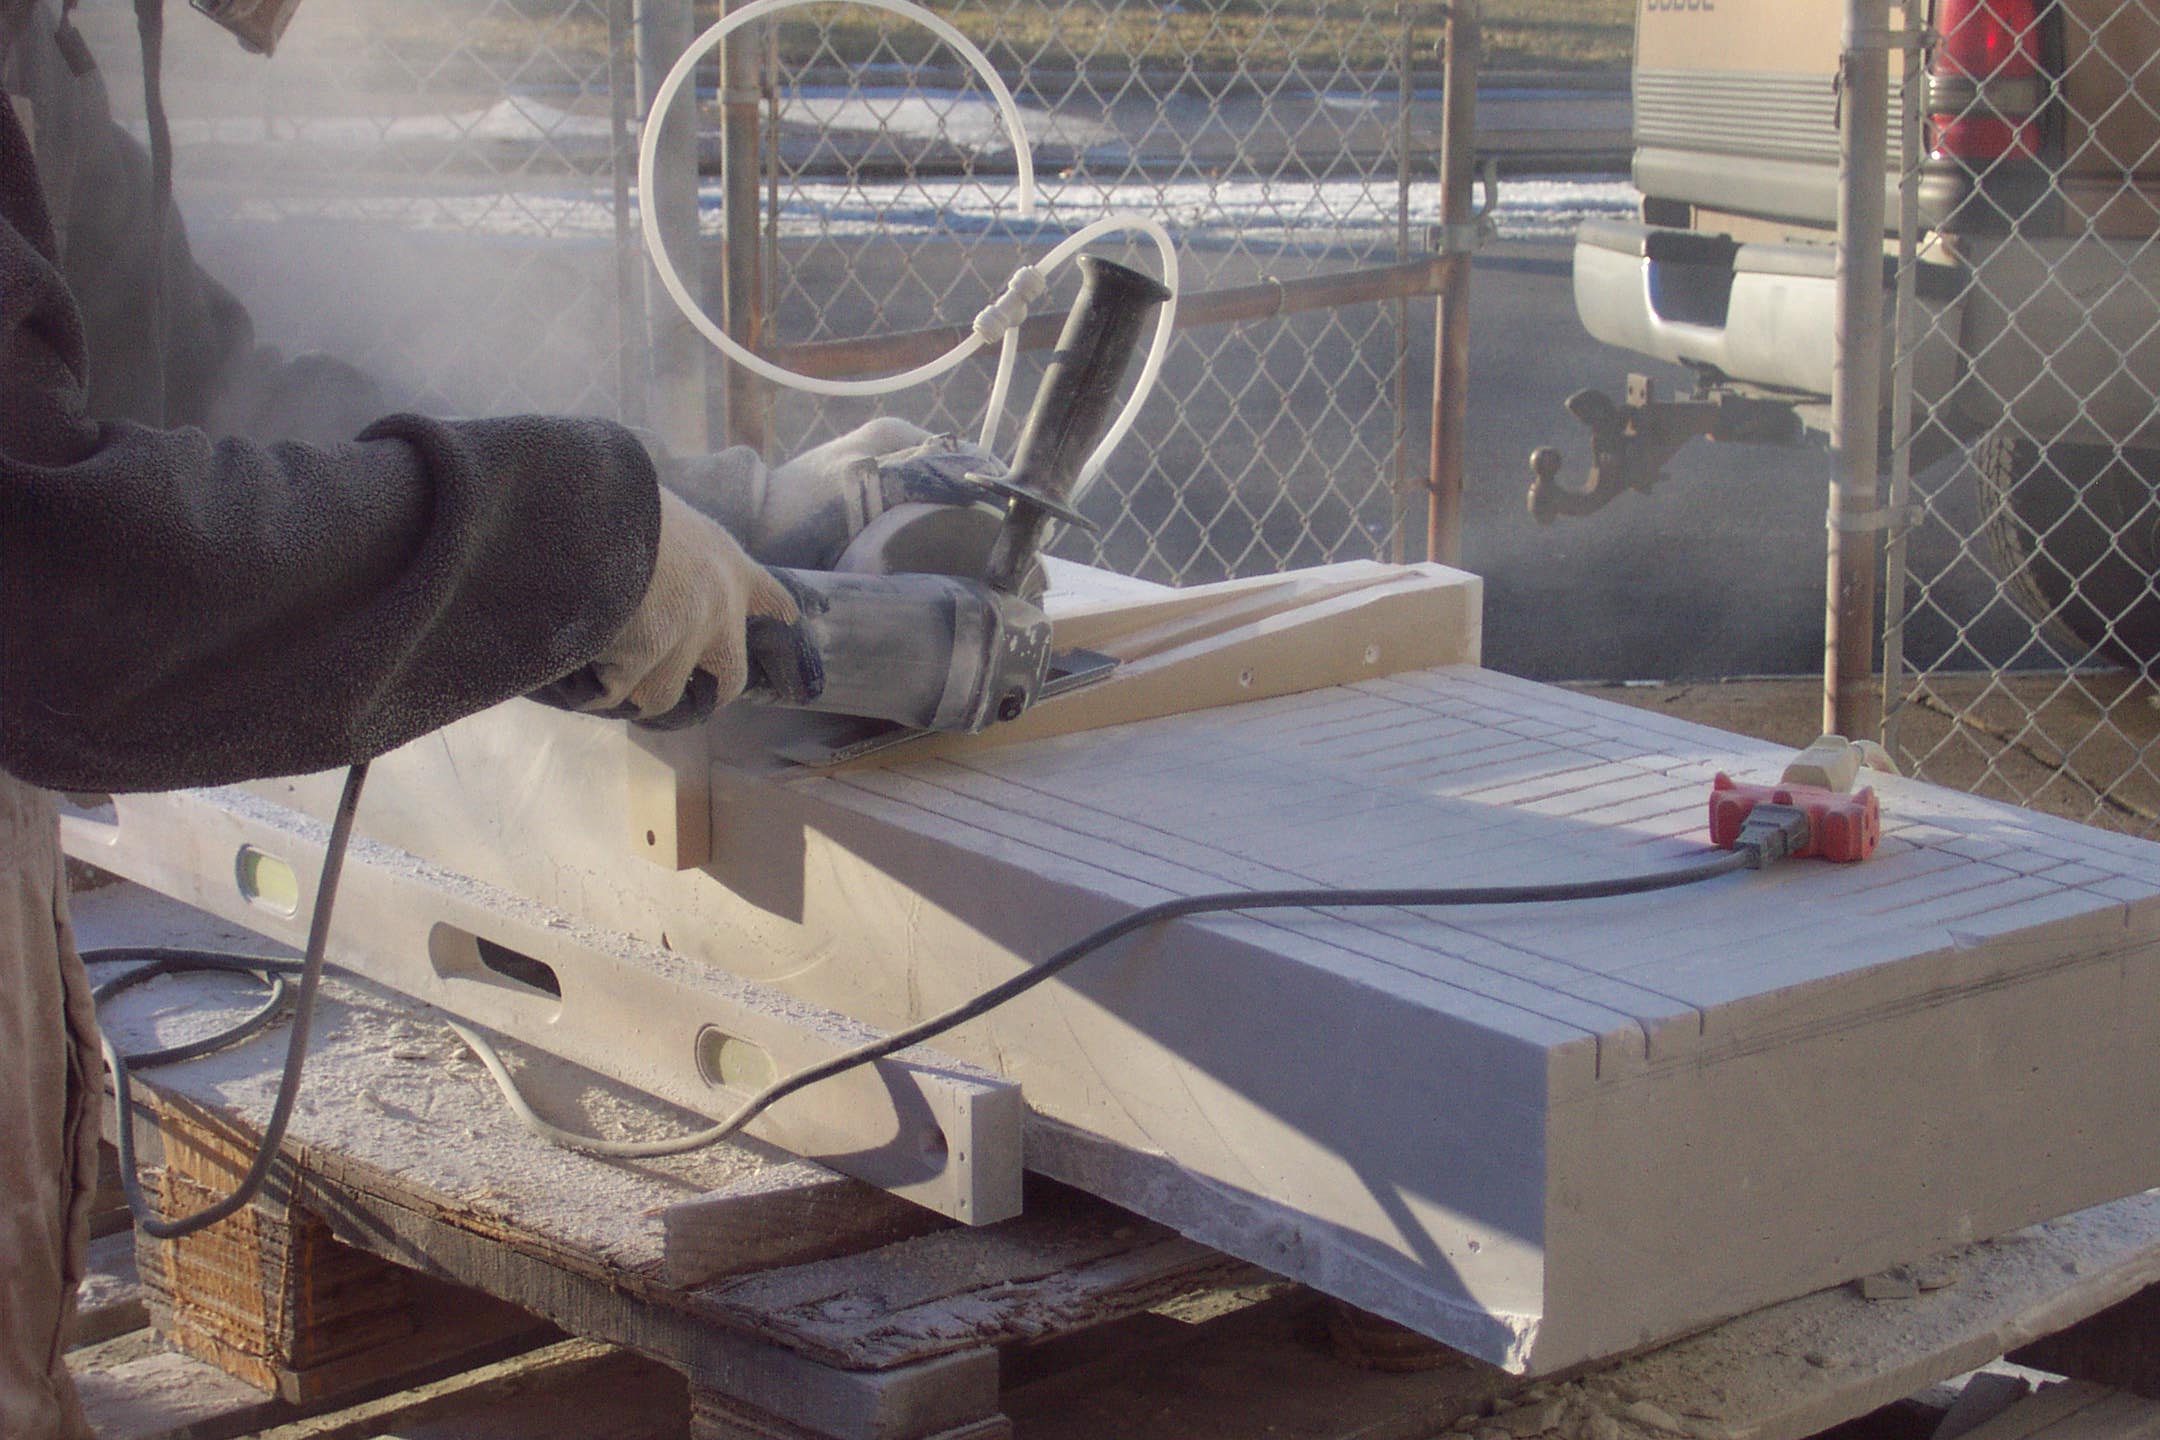
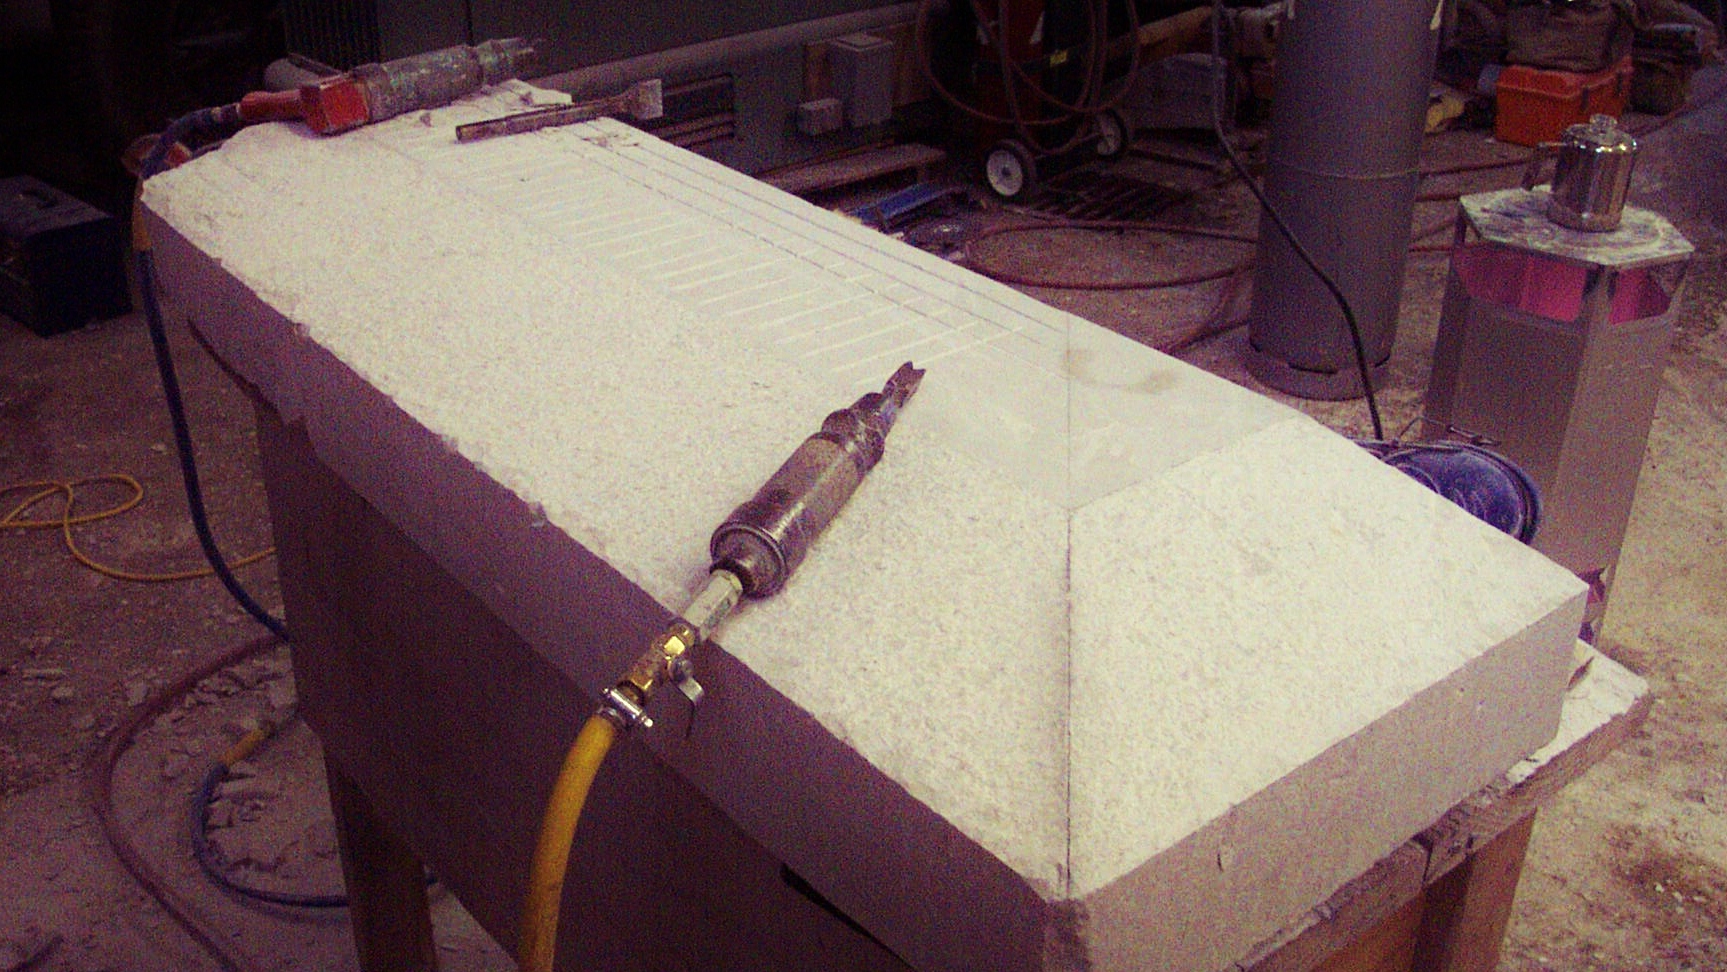
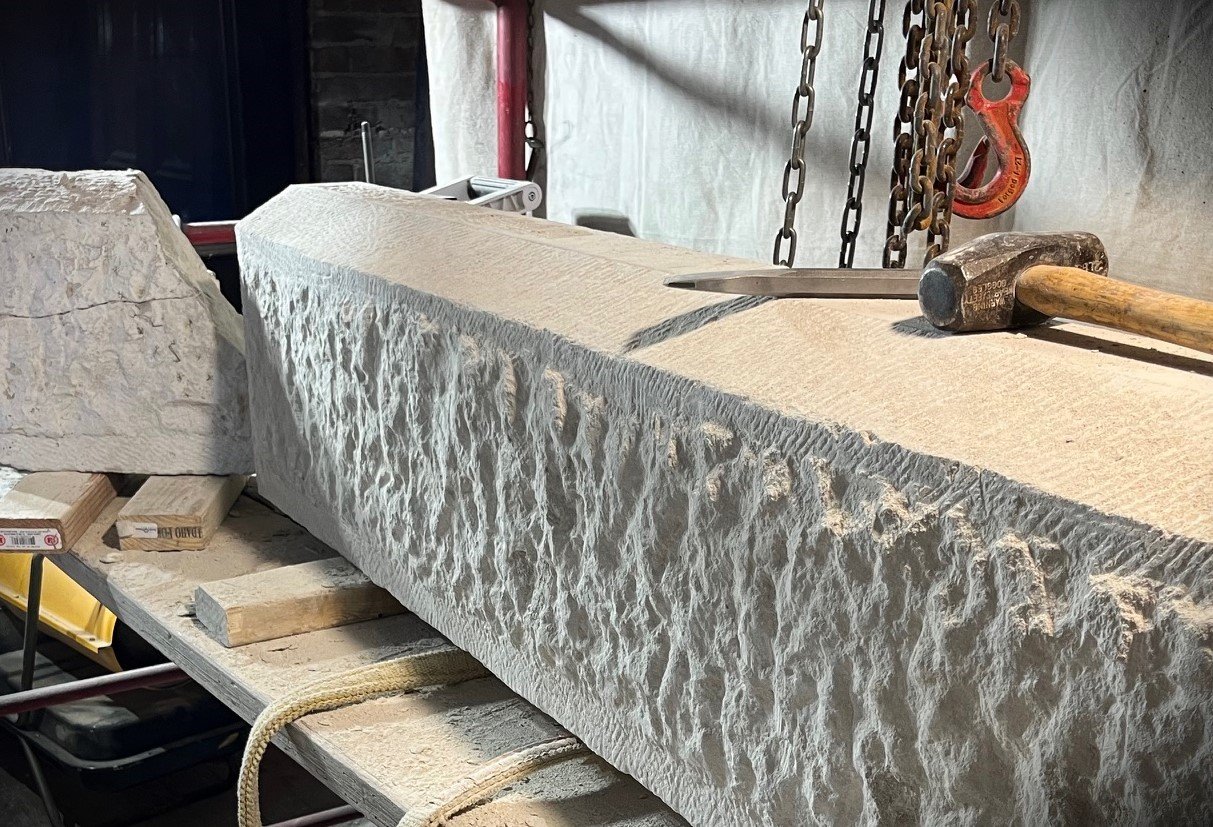
A pneumatic carving chisel was used to smooth the surface then a bush hammer was used with the air tool to texture the surface. Next, a chipper (chisel) and hammer were used to "rock face" the edges.
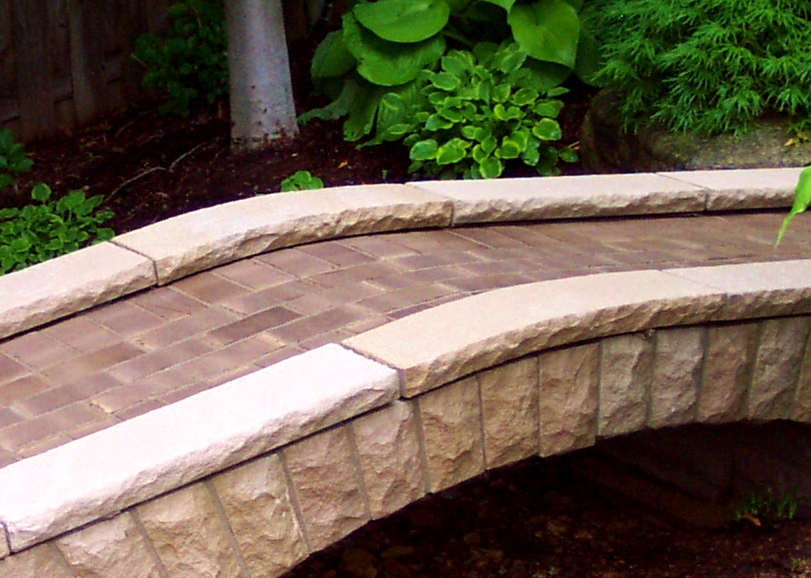
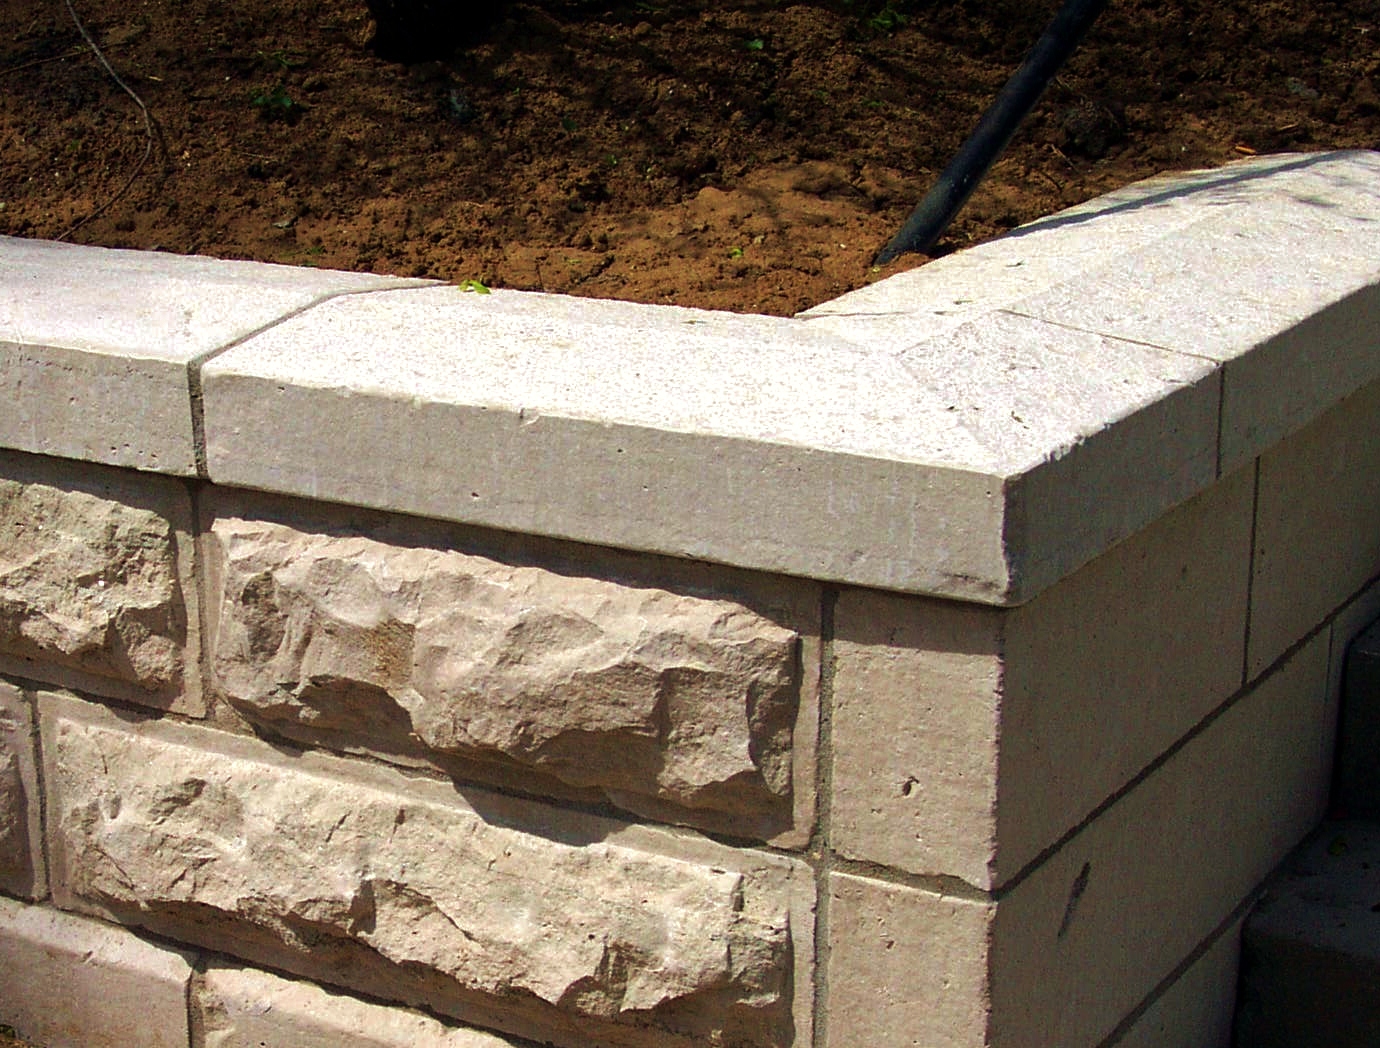
The finished product.
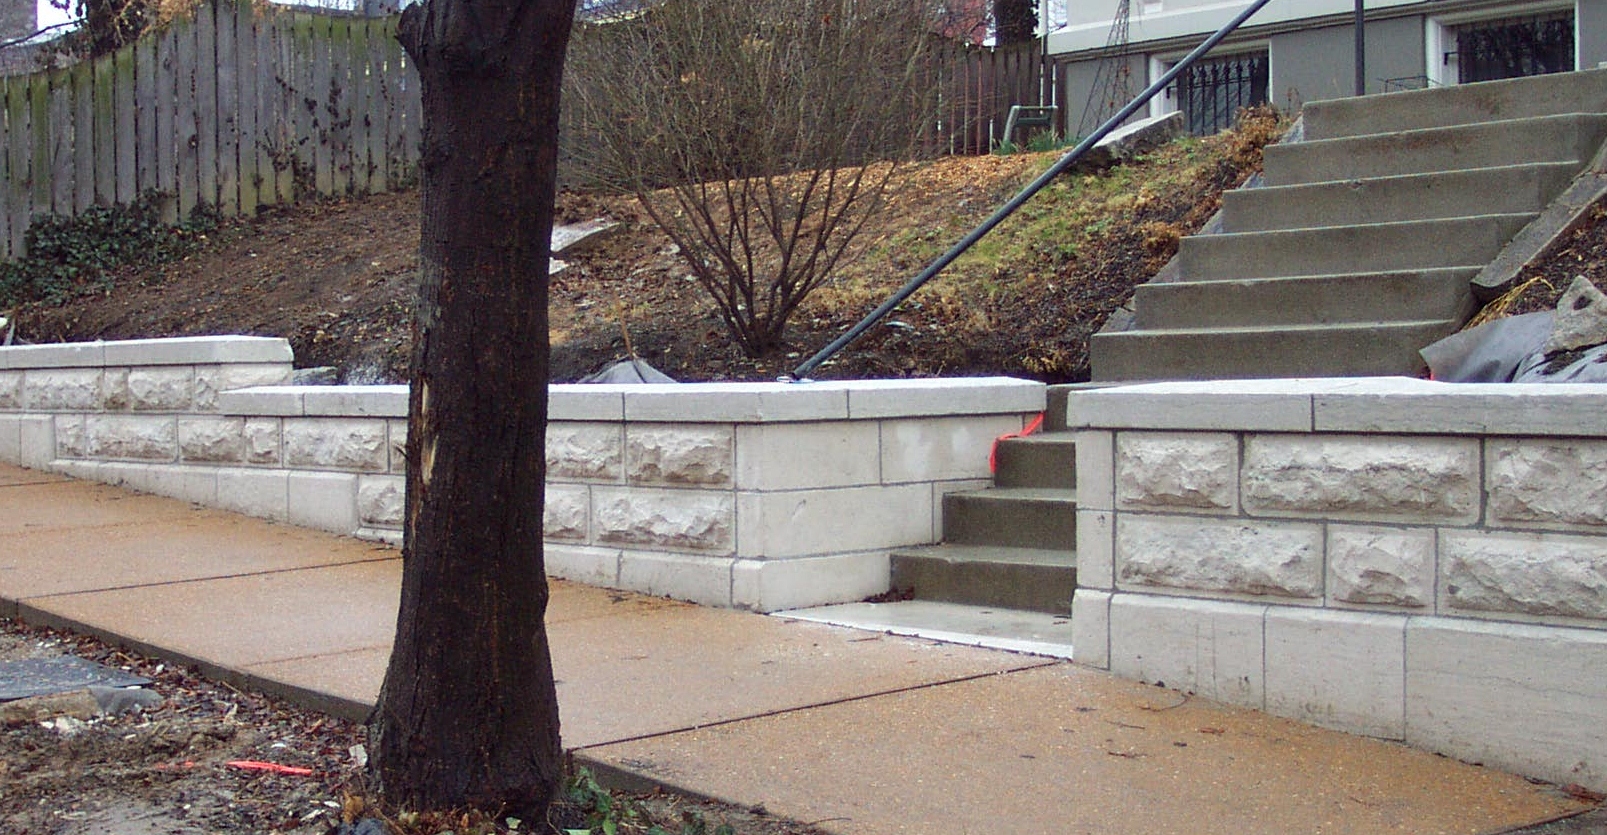
Curved copings, installed on the center of each side of this stone bridge.
Custom Carved Lintel Replacement for 1873 Lintel